Configuration
Configure how protected page will look like
First of all, let’s configure how any protected page will look to visitor. Please perform following steps:
Step 1: Go to Template.
Step 2: Select root page.
Step 3: Select Constant Editor from drop-down.
Step 3: Select Constant Editor > PLUGIN.TX_NSPROTECTSITE.

Once extension is selected set all the possible configuration for the Protected page. Please check following image for the available configurations.
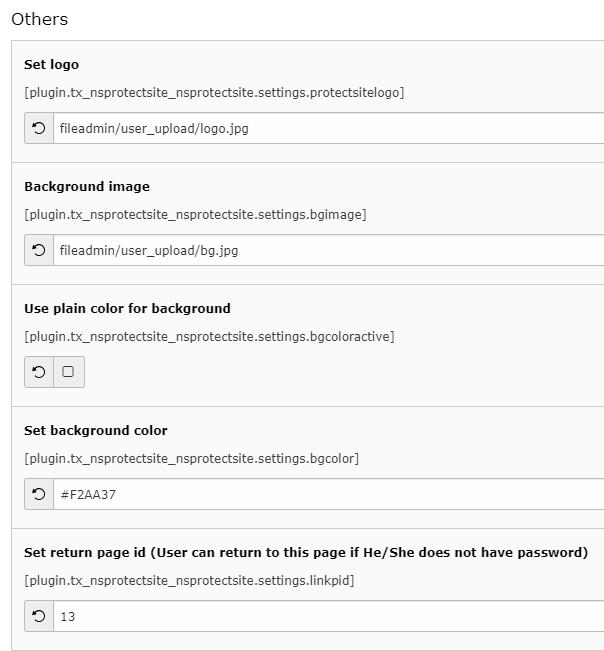
Set Logo: Set the logo you want to display on Protected page. Generally, it is site’s logo.
Background image: Set the background image to display. This will work only if “Use plain color for background” is turned off.
Use plain color for background: Enable/Disable Plain color as background
Set background color: Set Hex code for color to use in background
Set return page id: Set page ID where user can return to if He/She does not have password.
Add protection to the specific webpage
Once you have set the configuration for the Protected page, move to page which you want to make protected.
To make any page protected, please perform following steps:
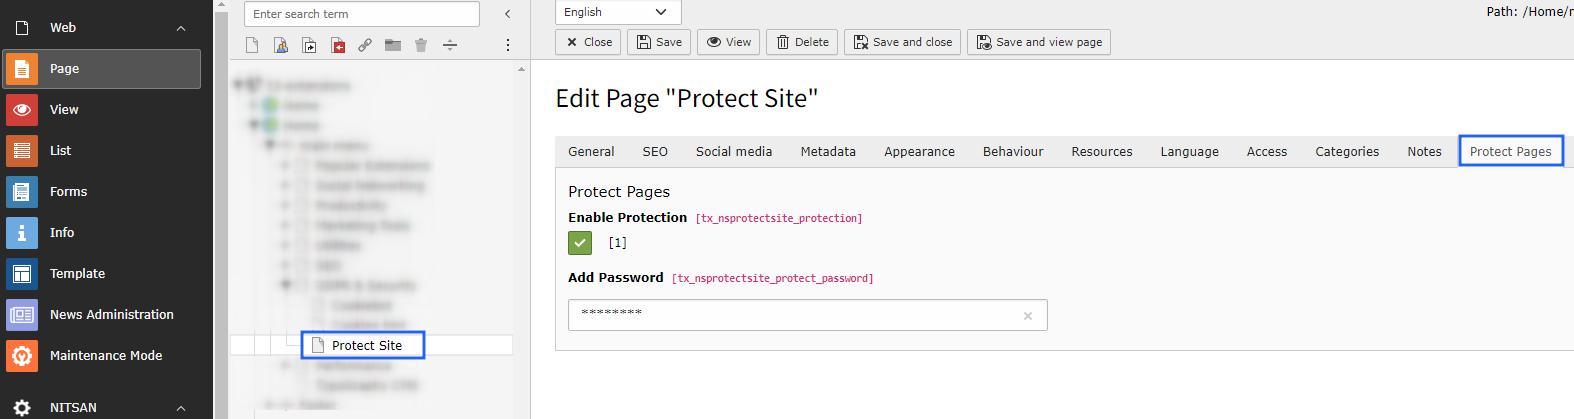
Go to the Page Properties.
You’ll find “Protect Pages” tab. Switch to that tab.
Check on Enable Protection checkbox. :Add password” textbox will be appeared.
Set the password to protect this page. Save the Page properties.
That’s it! Now, your page is protected. Go and check your page in browser.